Saturday, December 12, 2009

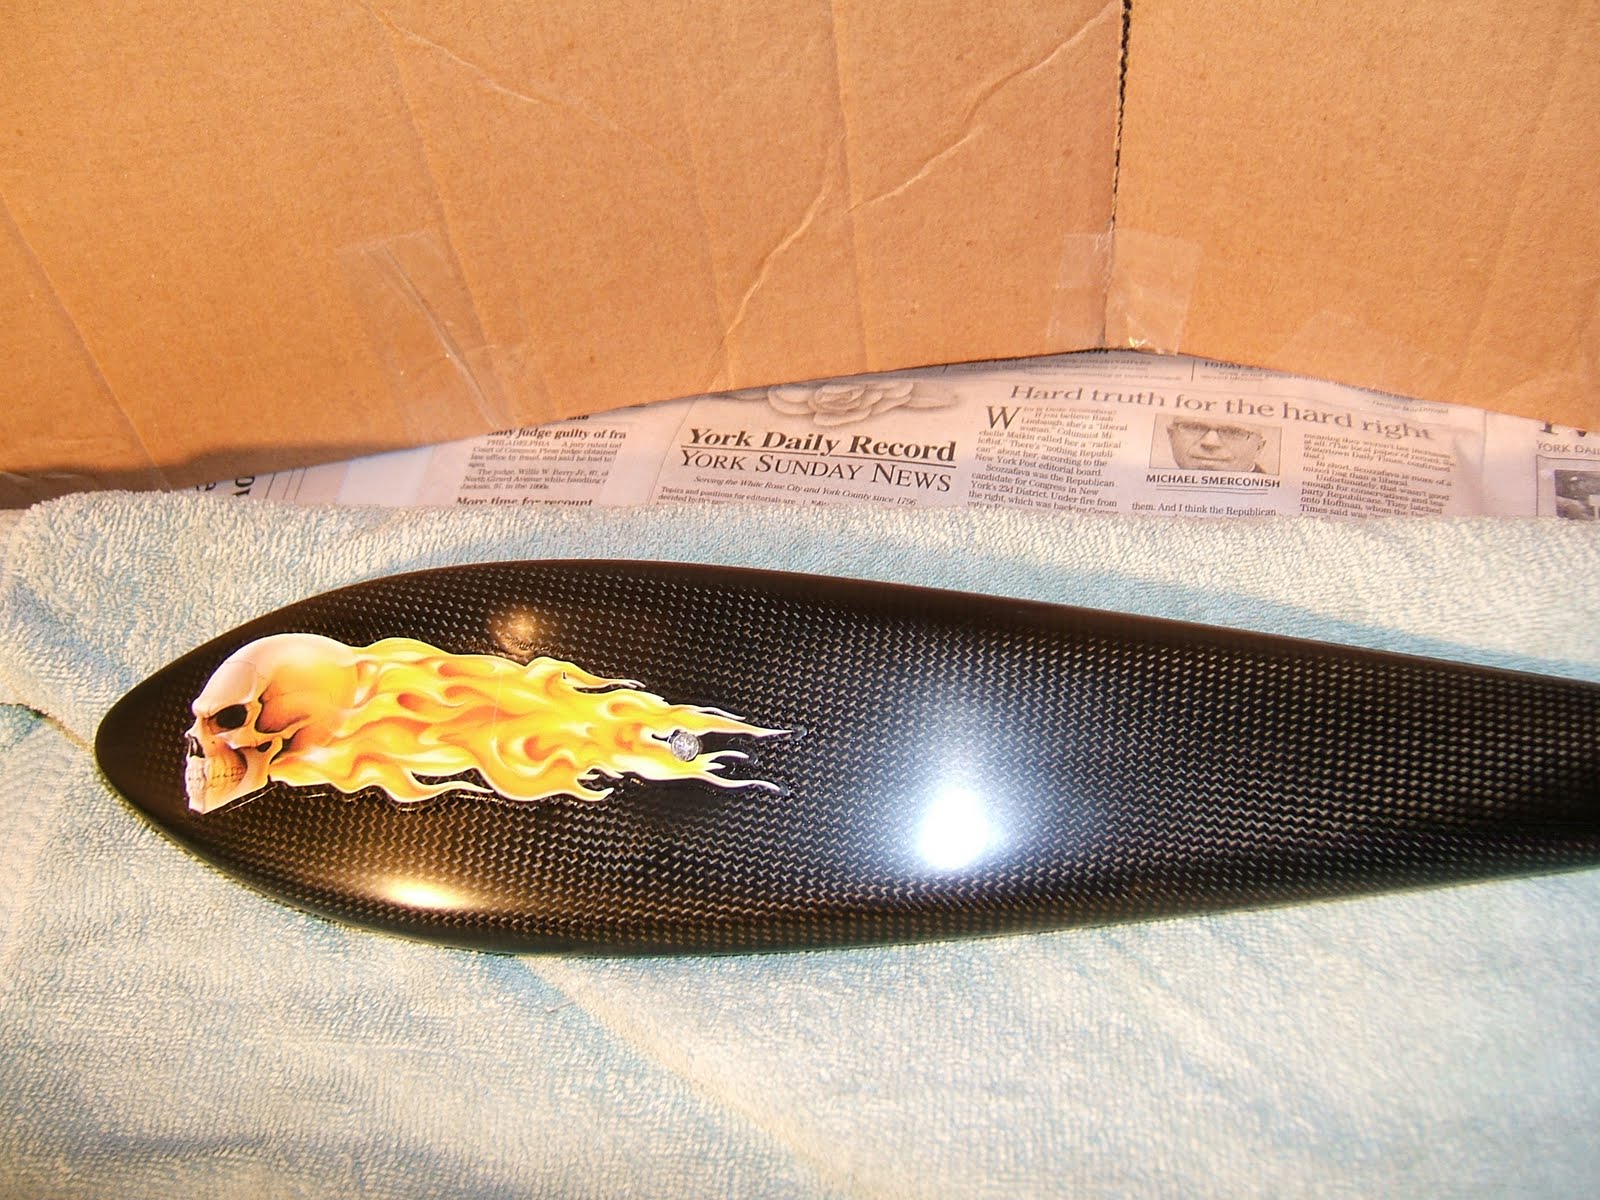
I performed my glider annual inspection a couple weeks ago.  The glider is faring well however while working on removing the scratches from the carbon base bar, I did find a minor crack on the left side on the grip at the cradle of my thumb and index finger.  After talking with Steve at WW we determined it wasn't a structural issue however, I decided to have it repaired. Bruce down at Highland has done carbon repair in the past and was willing to take a look at the crack.  I picked up the repaired base bar a week ago at the airport and to my surprise he not only repaired the crack but also recoated the carbon with 2-part Poly Fiber Epoxy Varnish (EV-400). This varnish is used on aircraft and has a UV protectant.  Check out the results!


My brother Marty mentioned using Envirotex Lite which is also a 2-part epoxy varnish.  This can be purchased in smaller quantities (8oz,) at Michaels or Hobby Lobby.  I am pleased with the results of this finish.  I don't know when I cracked it but most likely it was the result of loading it up on the cart wrong at one of the tow sites.  Another possibility could be rough handling the glider when I tried to self launch at the Pulpit back in July.  Carbon is very strong in the air but fragile on the ground.  I will be more careful in the future.

Monday, November 16, 2009

Dustino Pod Refurb

Over the weekend I worked on cleaning up my carbon fiber pod that holds my Flytec 6030 and Geko GPS.  It really took a beating during the flying season.  The clean super gloss finish was scratched in many areas but mostly on the bottom surface where it scraped in the dirt and rocks at The Pulpit and King Mountain. 
I started with 150 grit dry sandpaper and removed most of the clearcoat finish.


I then used wet sandpaper of progressively finer grit to get a really smooth finish; first 220 then 800 and finally 2000. 


The final uncoated finish looked like this.


I then sprayed it with multiple layers of clearcoat from a can (Autozone).


I added a cool decal to the back side after 4 coats were applied.  It took some experimenting to get the right coating coverage.  Initially I went too light and the surface had that orange peel effect.  I went heavier on subsequent coats until it began to run.  Light sanding between every 3 or 4 coats made the finish smooth.  Finally, I finished it with rubbing compound and car wax.


I need to borrow a neighbor's buffer to get an even better shine.  It took longer than I expected but was inexpensive to do and well worth it.  Wow, this almost beat flying!
This is my first post to my new blog.  I finally made the time to go on line.  Hope you enjoy me sharing my experiences.